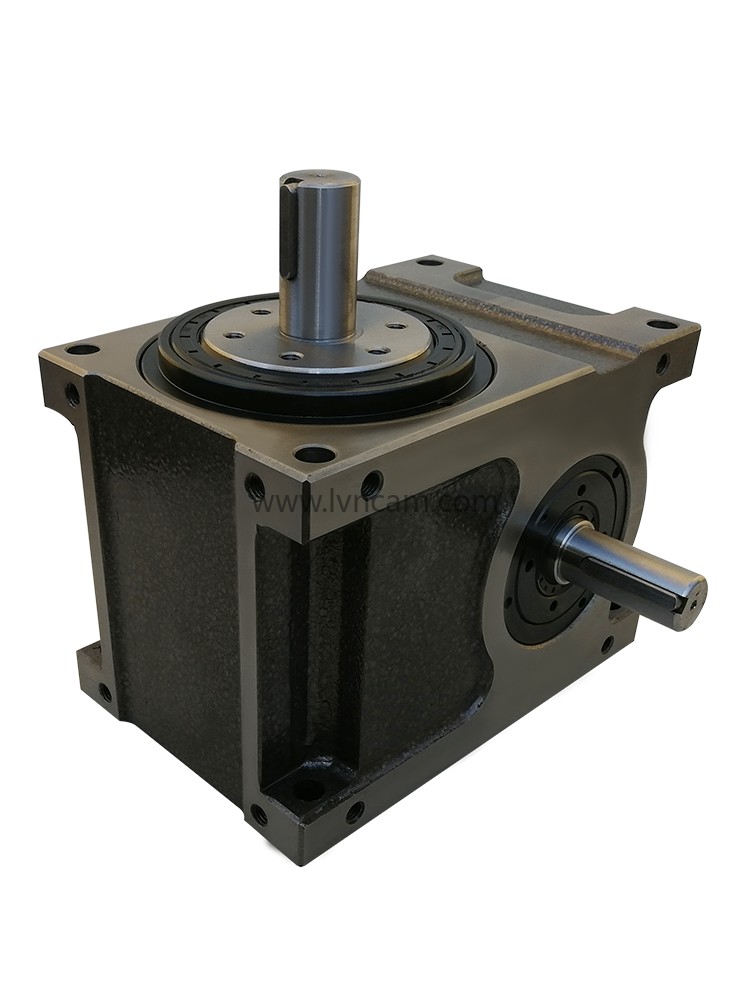
The disassembly and assembly of the indexing plate are as follows:
Steps to remove the indexing plate:
1. First, make sure the machine or equipment is turned off and disconnected from the power supply.
2. Check the fixing screws or nuts of the index plate and remove them using appropriate tools.
3. Slowly remove the index plate from its mounting position, making sure not to damage any associated components or connections.
4. If necessary, first remove other accessories or components related to the indexing plate, such as the drive system or transmission belt.
5. When the indexing plate is completely disassembled, it should be placed in a clean and safe place to avoid any damage or contamination.
Steps to assemble the indexing plate:
1. Before starting assembly, make sure all parts to be installed are present and in good condition.
2. Gently place the index plate in the desired position, making sure it is aligned with the interfaces of other accessories or components.
3. If necessary, install the connecting screws or nuts to connect the indexing plate to other components and ensure they are securely fastened.
4. Once the index plate is correctly installed, carefully check that its movement and rotation are smooth and there are no abnormal noises or jerks.
5. Once you have verified that all parts have been assembled correctly, you can reconnect power and test the unit for proper operation.
It should be noted that when disassembling and assembling the indexing plate, it is important to be careful and cautious to avoid damage to the equipment and components, and to ensure safe operation to avoid any accidents. If you do not have sufficient experience or knowledge in disassembly and assembly, it is best to ask professional technicians to complete these tasks.
related articles
- 2024 Dragon Boat Festival Holiday Notice
- LN125R roller cam CNC turntable servo turntable real shot
- 180DT-4-270R LVNCAM cam divider real shot
- I wish that spring will be peaceful and prosperous, and that people on earth and in heaven will be safe and sound.
- 2024 Qingming Festival Holiday Notice
- Shandong Luning Precision Machinery Co., Ltd. wishes everyone a happy Lantern Festival.
- 110DT-8-270R-T30 cam divider input shaft extension motor plate
- Spring Festival Holiday Notice-Shandong Luning Precision Machinery Co., Ltd.
- Why are cam dividers so popular in production?
- What should we pay attention to when cleaning and maintaining the cam divider?
- Domestic brand cam dividers: good quality, low price and can meet high requirements
- LN170-36-24S 170 four-axis CNC rotary table four parallel use case
- L80DT-8-LN003 Customer Selection Case
- L60DF-6-LN002 flange type cam divider six positions
- L140DT-6-LN001 Shandong Luning Platform Desktop Intermittent Cam Divider Six-station Large Hollow
