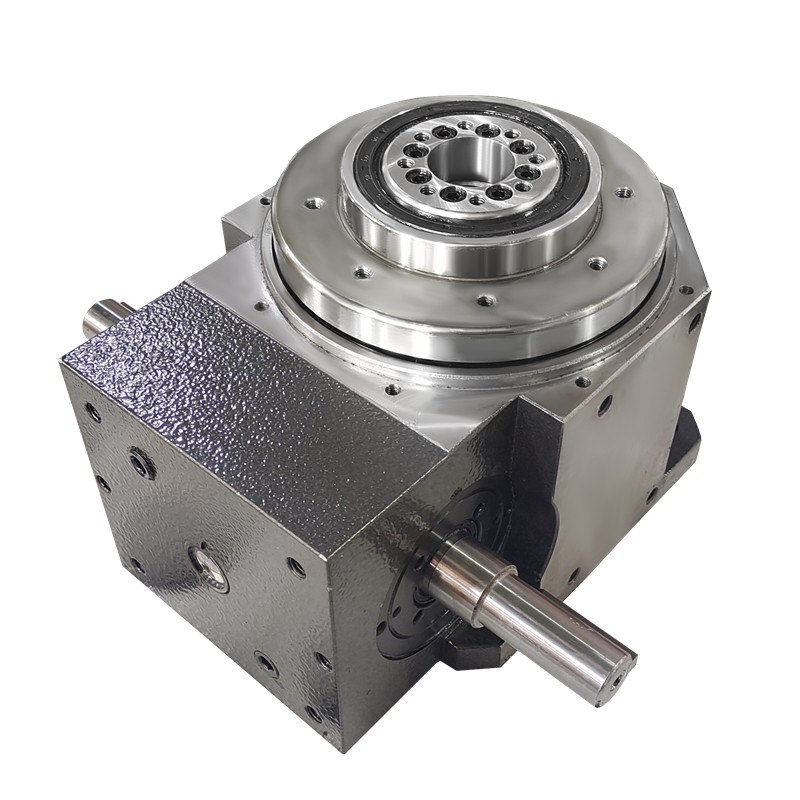
Whether you are a new user of cam dividers or a veteran user, you should pay attention to one detail when using the divider: replace the vent screw, also known as the vent cap. Cam divider manufacturers usually bundle the vent screw on the input shaft or on the divider box when shipping, as shown in the following figure:

The red circle in the picture above is the original vent screw.
Why do we need to replace the vent cap and vent screw?
After the cam divider has been running for a long time, heat is generated inside. If the vent cap is not replaced, the internal air pressure will increase, which will cause oil to leak from the oil seal, which is often called oil leakage. After replacing the vent screw, the internal and external air pressures remain consistent, which solves the oil leakage problem to a large extent. (Except for product quality issues).
How to replace the vent cap and which screw to replace?
The screw at A needs to be replaced with the vent screw that comes with the splitter when the splitter is used normally. If the use environment is relatively harsh, such as water, dust, etc., you can use a more advanced vent cap. Regardless of the style of the vent cap, its function is to balance the air pressure inside and outside the splitter to prevent oil leakage.
The position of the vent hole should be adjusted accordingly for different installation and usage methods of the divider. Therefore, when purchasing a cam divider , be sure to communicate well with the sales engineer.
Regarding questions about cam dividers, LVNCAM cam dividers from LVN Automation welcomes everyone to communicate and learn together.
related articles
- 2024 Dragon Boat Festival Holiday Notice
- LN125R roller cam CNC turntable servo turntable real shot
- 180DT-4-270R LVNCAM cam divider real shot
- I wish that spring will be peaceful and prosperous, and that people on earth and in heaven will be safe and sound.
- 2024 Qingming Festival Holiday Notice
- Shandong Luning Precision Machinery Co., Ltd. wishes everyone a happy Lantern Festival.
- 110DT-8-270R-T30 cam divider input shaft extension motor plate
- Spring Festival Holiday Notice-Shandong Luning Precision Machinery Co., Ltd.
- Why are cam dividers so popular in production?
- What should we pay attention to when cleaning and maintaining the cam divider?
- Domestic brand cam dividers: good quality, low price and can meet high requirements
- LN170-36-24S 170 four-axis CNC rotary table four parallel use case
- L80DT-8-LN003 Customer Selection Case
- L60DF-6-LN002 flange type cam divider six positions
- L140DT-6-LN001 Shandong Luning Platform Desktop Intermittent Cam Divider Six-station Large Hollow
